Brewing Kombucha (using a continuous brew Kombucha system!)
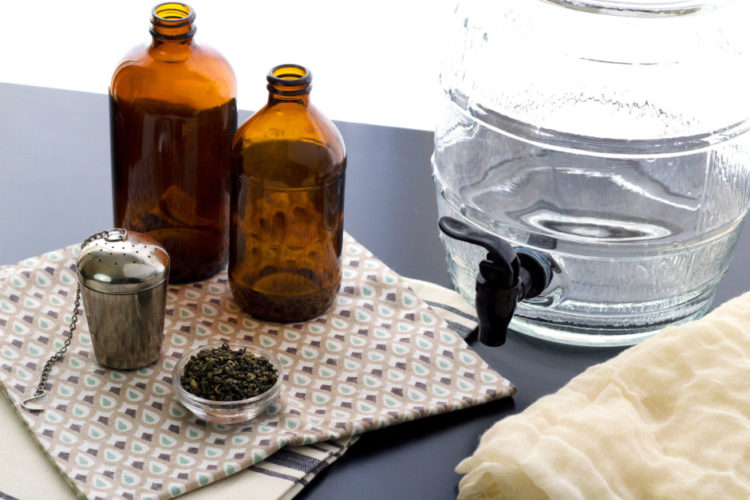
You would have to be living under a rock to have not heard about Kombucha (pronounced kom-boo-chuh) by now. It seems to be everywhere! This 2,000 year old fermented tea has definitely been gaining serious attention recently due to its heath-benefits, not to mention the delicious tangy taste! This guide will answer all of your first-timer (or even pro!) questions about starting a continuous brew kombucha system.
Just in case you missed any of the other steps in the guide, be sure to check out:
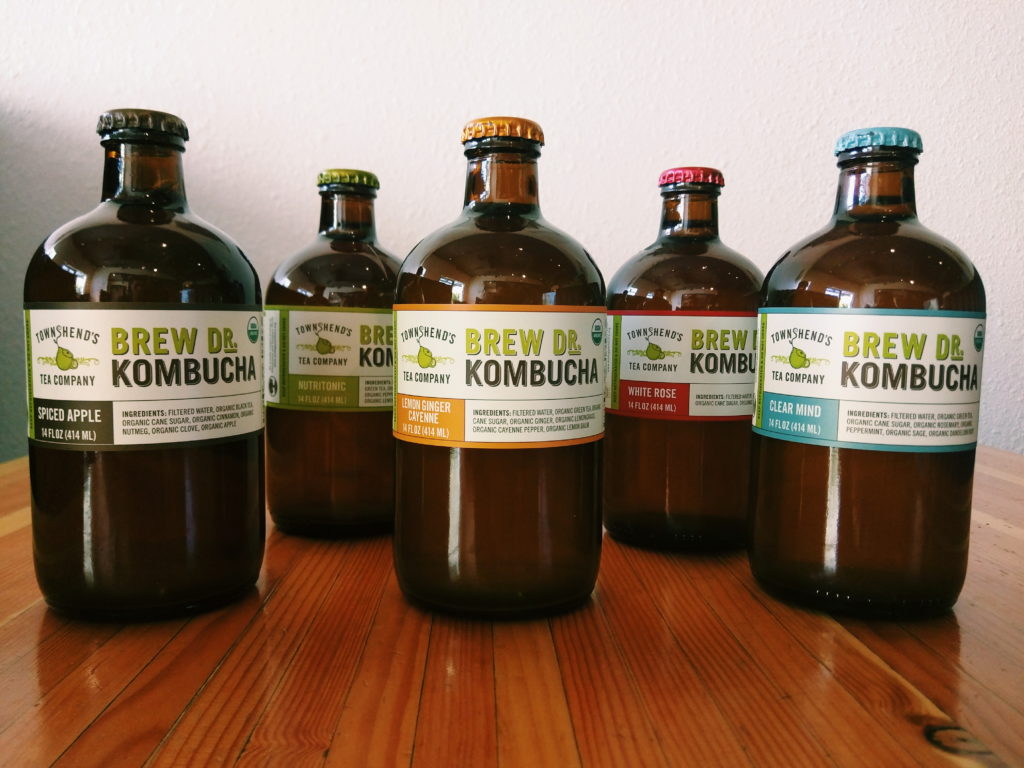
One of my favorite brands, Brew Dr. Kombucha
So… What is Kombucha?
The earliest recorded use of Kombucha dates back to China in 221 BC during the Tsin Dynasty, referred to as the “Tea of Immortality”. It has spread the globe ever since! Used in Eastern Europe, Russia, and Japan, slowly making its way to the hipsters of America.
Kombucha is a refreshing and bubbly living probiotic drink made by fermenting tea and sugar with a Kombucha culture (also called a SCOBY (Symbiotic Colony of Bacteria and Yeast)). During the fermentation process, the SCOBY consumes the sugar and turns it into probiotics (and a tiny amount of alcohol, less than .5%)!
Don’t worry about the sugar, either! The longer you ferment, the less will be present in the final product. I definitely prefer a tangier, less sweet Kombucha, but it is completely up to the brewer!
Along with the tangy, carbonated goodness in each bottle, Raw Kombucha is rich in:
- B-Vitamins
- Vitamin C
- Digestive Enzymes
- Probiotics
- Polyphenols
- Anti-Oxidants and Organic Acids
- Including: EGCG, Glucuronic Acid, and Acetic Acid
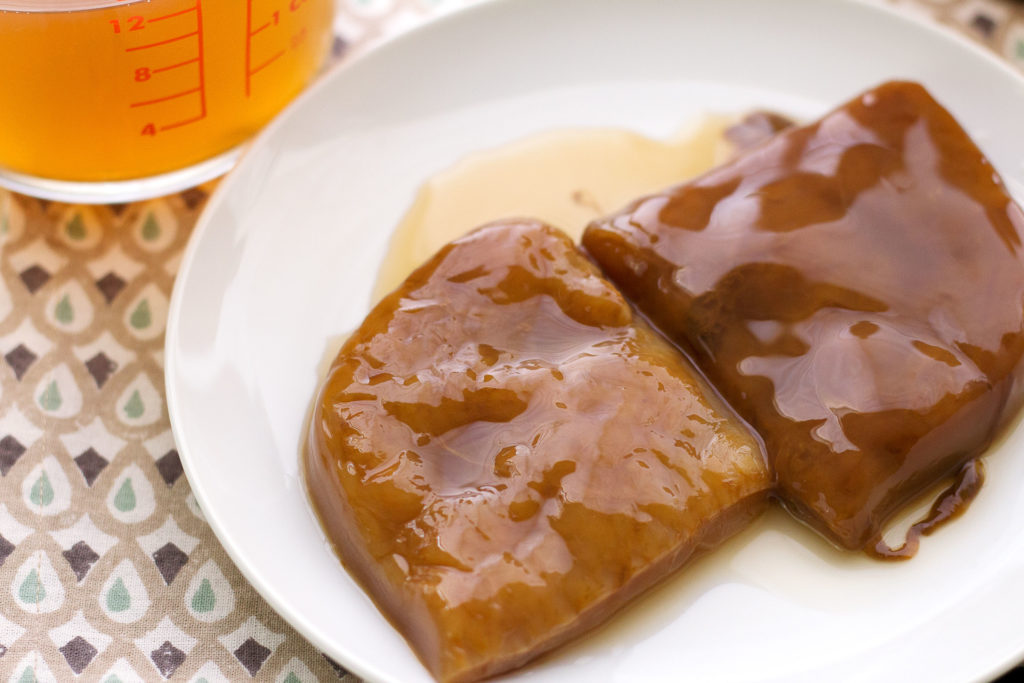
Thick and healthy mother SCOBY (2 pieces)
This means the incredibly tasty drink also happens to be extremely beneficial for your body! Talk about a win-win! Kombucha is great with:
- Detoxification, being able to counteract liver-cell toxicity
- Digestion, due to enzymes and probiotics
- Energy production, due to bio-available B-Vitamins
- Immune heath, due to the powerful anti-oxidants, Vitamin C, and probiotics
- Even helping to treat Cancer and AIDS, although more human trials are needed
The downside of drinking Kombucha
I have been drinking Kombucha on a regular-basis for almost 4 years now, and it would be wrong to tell you there aren’t drawbacks. My acne has subsided, stomach woes disappeared, energy production increased, but my wallet hurts. Coming in at almost $5 a bottle, Kombucha is not a cheap habit to keep up! I have completed two large batch brews at home, but the process was so difficult and time-consuming, I went right back to store-bought!
Not anymore!
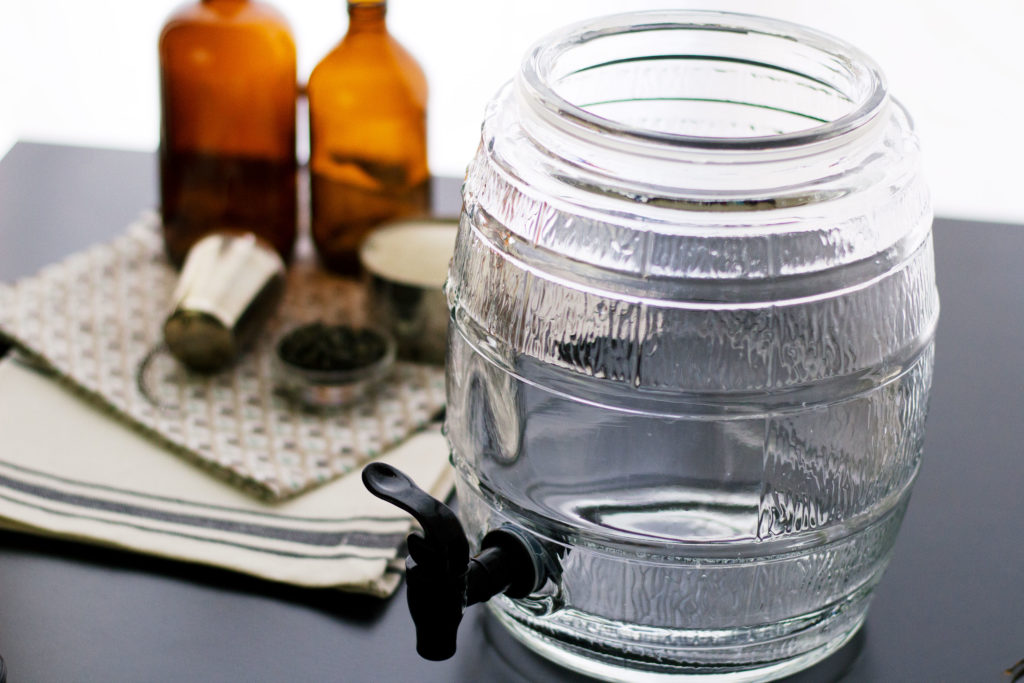
I have been researching Continuous Brew Kombucha Systems for a while now, it was time I took the plunge! Traditionally, Kombucha is fermented for a couple of weeks, completely drained, bottled, and the entire system broken down to start over for the next batch. The difference with a continuous brew kombucha is the spigot on bottom of the jar, allowing for drainage without disturbing the SCOBY floating on top. Leave about 2 cups of liquid when bottling the ‘booch, simply add more sweet-tea, and keep it going! This results in a healthier, stronger SCOBY (and a LOT less work!)
Secrets to Brewing Perfect Kombucha
As with anything, quality Kombucha comes from the very best ingredients and equipment. More specifically, certain metals and ingredients can actually kill your Mother SCOBY, so don’t make substitutions!
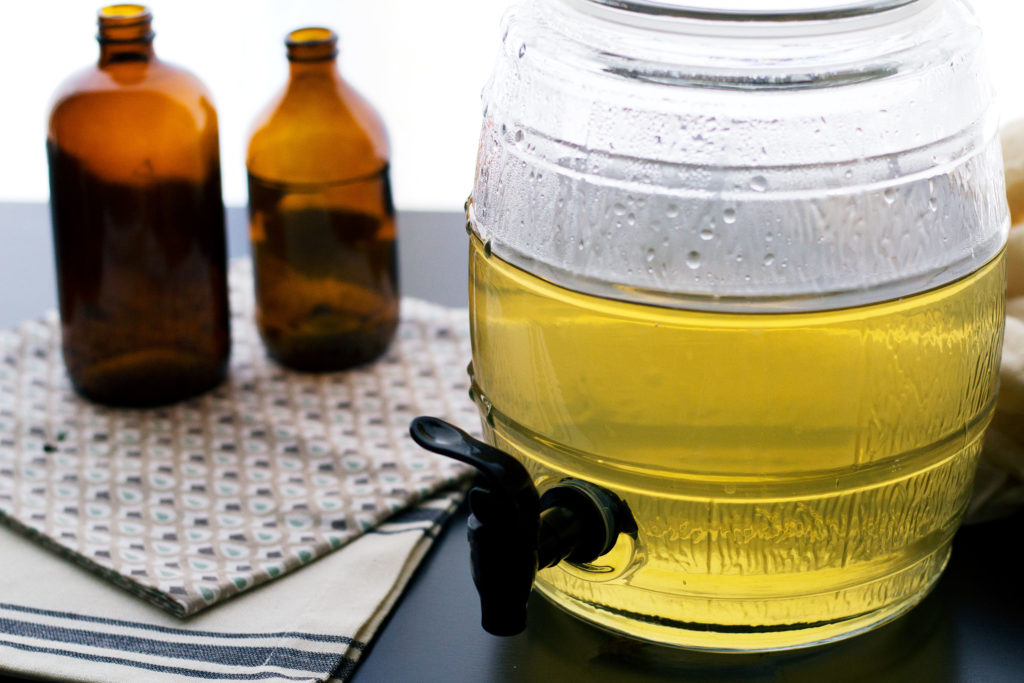
- Start with a 1+ gallon glass container. Mine happens to be 1.3 gallons, so no fear of spilling over!
- I found mine at a Restaurant Supply Store for $15, so look around! They’re not all $50.
- If starting a continuous brew Kombucha system, make sure the spigot doesn’t contain metal!
- Gently wash with white vinegar before using, Kombucha SCOBYs don’t like soap residue!
- Next you will need a quality SCOBY to ferment your tea.
- If you know someone with an extra one lying around, hop on it!
- Otherwise, you can follow this guide to grow your own from store-bought. It takes less than a month, so don’t get discouraged!
- I will only use high-quality filtered water for the tea. I know it sounds ridiculous, but the chlorine in tap water will kill a SCOBY in no time.
- Regular water filters (think your fridge, or a Brita) don’t remove Fluoride either, which has its own list of terrifying side-effects.
- I use Reverse Osmosis water from my local health food store.
- At the very least, boil tap water for 20 minutes and let sit out, uncovered, for 24 hours. Most of the chlorine will evaporate.
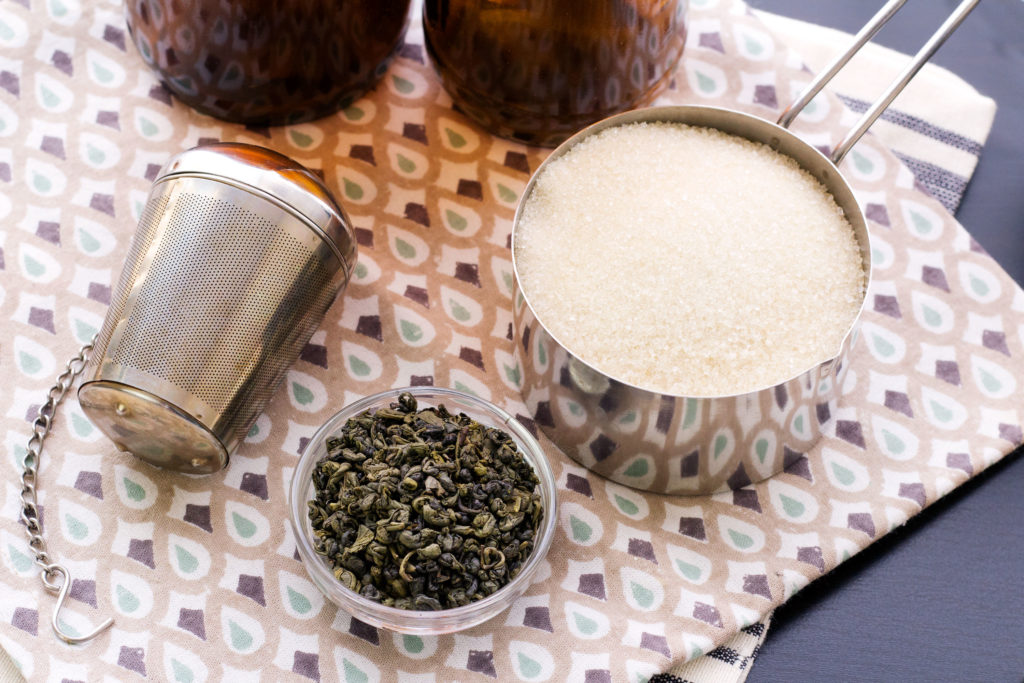
- Organic loose-leaf or bagged tea is perfect.
- I chose green because it’s what I have on hand, but feel free to experiment!
- Each variety of tea will produce a slightly different Kombucha.
- Most recommend starting with an organic black tea, but you can even mix and match!
- Organic and unrefined granulated sugar.
- Honey and stevia will starve and kill your kombucha, do not substitute!
- If worried about the sugar content, simply ferment longer. The SCOBY will consume most of the sugar in a month’s time.
- Finally unbleached (if possible) cheesecloth and a rubber-band to cover the top. The SCOBY needs to breathe!
Starting a Continuous Brew Kombucha System
Ingredients
- 13 cups filtered water
- 1 cup organic unrefined sugar (do not substitute, this is the SCOBY's food!)
- 2 Tbsp loose leaf tea OR 8 bags I used gunpowder green
- 2 cups starter Kombucha (either from previous brew or store-bought)
Instructions
- Boil 7 cups of the water
- Pour the boiled water and sugar into brew container, stir to dissolve

- Steep tea for 2-5 minutes (depending on type of tea).
- Pour the rest of the room-temp water in to quickly cool the hot tea down

- After water has completely cooled (very important! Heat will kill the SCOBY), pour starter Kombucha and SCOBY into brewing jar
- Fit with cheesecloth, and set in a safe, dark, warm spot away from produce or other fermenting foods
- In a couple of days, you'll notice a translucent film forming over the top. This is the newest Kombucha SCOBY forming, a great sign! (If you don't notice a SCOBY within 3 weeks, discard batch and start over)
- After the SCOBY has grown to 1/4-inch thick, taste the tea, being careful of contamination.
- Keep fermenting until desired tartness has formed
- Once this happens, you can drink it immediately, bottle and refridgerate it, or complete a second (1-2 day) ferment. This will result in a bubblier, carbonated drink
- Simply flavor the tea by adding fruit and juice to the bottles, sealing tightly, and letting them sit on the counter for one to two extra days. Be careful about the pressure bursting the glass, don't leave out too long!
Notes
SCOBYs are weird-looking, and sometimes oddly colored, but a fuzzy texture is a clear indication of mold.
Mold growing means that the acidity didn't reach the necessary levels to ward off mold, otherwise it isn't ever a problem. This rarely happens, so don't lose hope! Perhaps start with an older SCOBY mother, or more starter tea.



Aaron
May 12, 2016 at 11:45 amDo you have any tips for making kombucha with Chia seeds? Like how much Chia to put in a batch and when you do this?
Nick
May 15, 2016 at 10:12 amThat’s gonna be my next experiment! I cannot figure out how store-bought is able to keep their chia seeds suspended throughout the liquid, mine just all clump together at the bottom! 🙁
It is definitely an ingredient you’d add during the second fermentation, so I guess we’ll see!
Haley
April 23, 2021 at 5:36 pmMy scoby doesn’t seem to float to the top, it just sits near the bottom. Is this still OK?
Nick Abell
May 2, 2021 at 1:43 pmThis is typically normal and has happened to me before 🙂