Best Vegan Yeasted Donuts Recipe – Viral Recipes Veganized
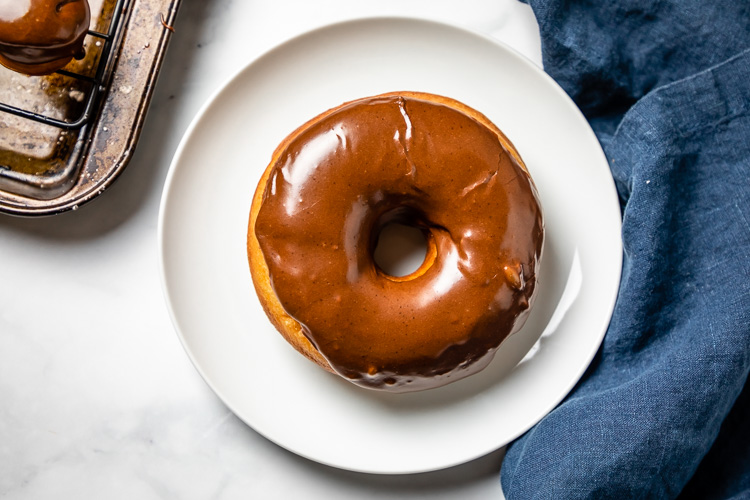
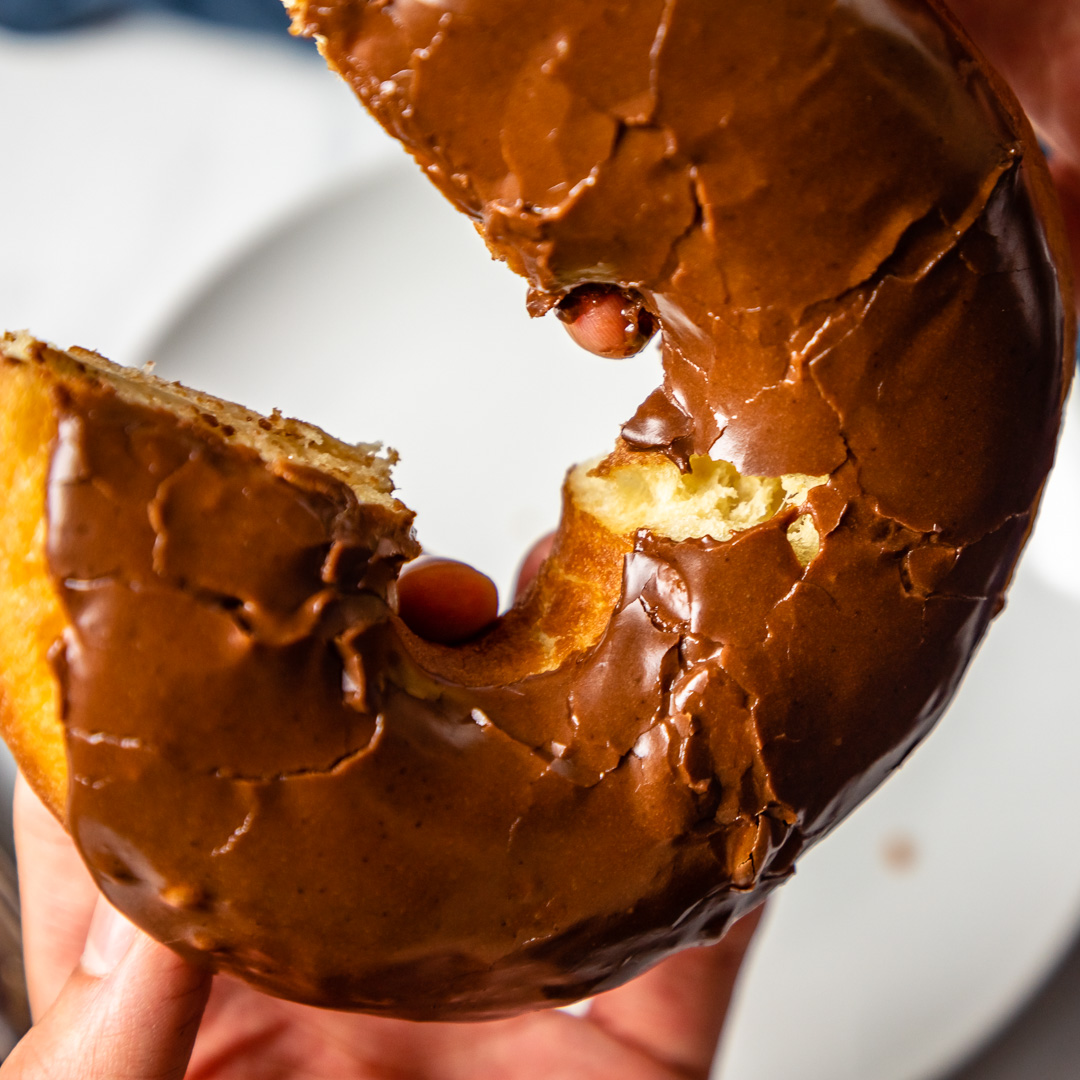
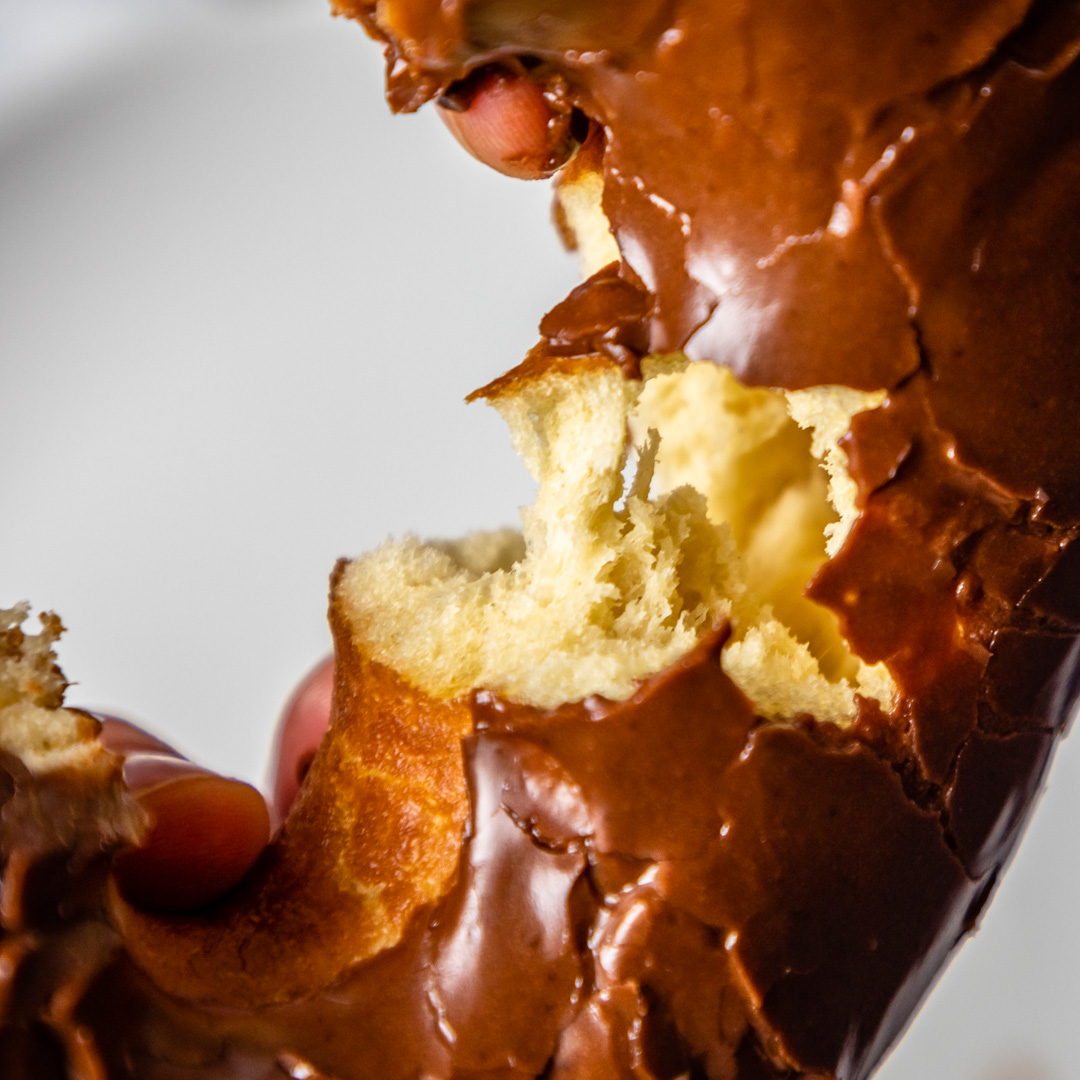
When I say I want a vegan donut: you know what I’m talking about. I want a yeasted donut, soft and pillowy… Fried to a light, golden crisp. None of that dense, baked cake here. In fact, these vegan yeasted donuts are adapted from the king of viral recipes: Joshua Weissman. Join along as we veganize this viral wonder!
Doughnut? Donut? Spelling Aside; We Can Agree on One Thing
Now, before we go any further: I want to make sure we start with a mutual understanding.
See it?
Fried.
Donuts are fried.
Please stop baking cake with the shape (and texture) of a rubber tire and trying to pass it off as a vegan donut.
“How Are These the “Best” Vegan Yeasted Donuts?” (says the doubters)
Now that we’ve got definitions out of the way, let’s discuss this incredible recipe!
I’ll start by saying:
These are hands down the best donuts I’ve ever had.
And… Let me tell you, I’ve had a donut or two in my time.
How can I be so sure of their awesomeness?
It’s science: darling. We tested it!
Five family members later and the verdict is in:
These are not only the best vegan donuts they’ve ever had, but these were also some of the best donuts they’ve ever had.
That’s a win in my book, folks!
(Especially considering these are some of the toughest critics I have *wink*.)
Equipment and Ingredients You’re Probably Gonna Need:
This recipe is fairly standard as far as vegan yeasted donuts go.
You’re gonna:
- make a dough,
- and fry it.
Simple enough, right?
Nevertheless, here are some specifics you might want to check out before we begin:
- Large, heavy-duty pot for frying
- Digital thermometer
- Round biscuit (or donut!) cutter set
- Stand mixer
- Steel wire skimmer/strainer
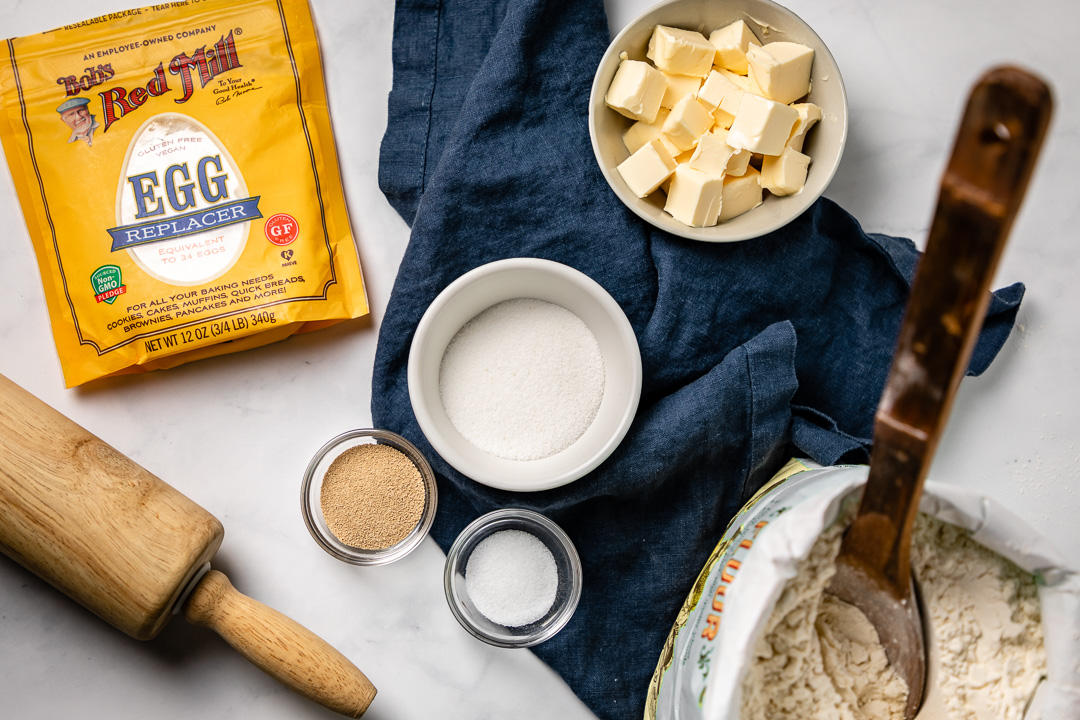
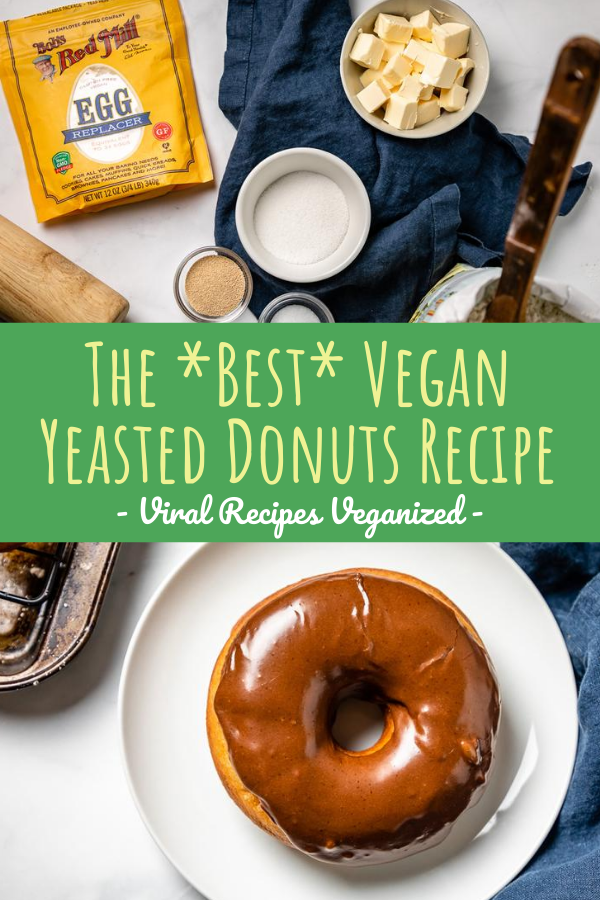
- Egg replacer
One last note: the instructions seem like a lot (and, yeah; it’s not a friggin’ salad we’re making!)
However: I spelled things out as clearly as possible, leading to some extra information-y parts stuck in the middle. You’ll see it’s just me being over-cautious and over-explanatory. Don’t be scared!
One last, last note: as with all recipes, be careful in the kitchen. This one, in particular, deals with hot oil… It’s probably smart to read through beforehand to get a basic understanding.
Click Pin-It for Later
Best Vegan Yeasted Donuts Recipe
Ingredients
For Dough
- 1 cup soymilk warmed to 110-115°F
- 2 1/2 teaspoons active dry yeast
- 4 cups all-purpose flour
- 1/4 cup sugar
- 1 teaspoon salt
- 2 egg replacer I used Bob's Red Mill
- 1/2 cup vegan butter melted and cooled (below 115°F)
For Chocolate Glaze
- 1 1/3 cup powdered sugar
- 3 heaping Tablespoons cocoa powder
- 1/2 teaspoon salt
- 3-5 Tbsp water little by little
Instructions
Start by Making the Dough
- Begin by mixing your warmed milk with the yeast, using a fork to break up as necessary. Allow this to sit for about 10 minutes until nice and bubbly


- Go ahead and grease a large bowl for later. (This is also a great time to mix that egg replacer, if not already done)
- While you're waiting for the yeast, add the flour, sugar, and salt to a separate stand mixer equipped with a dough hook
- Give those dry ingredients a quick whisk to incorporate
- Before we start mixing anything else, first remove half of the flour mixture and set aside
- Finally, add the egg-replacer, bubby yeast/milk, and butter to the half of the flour mixture still in the stand mixer. Mix on medium-low until mostly smooth (just a minute or two)
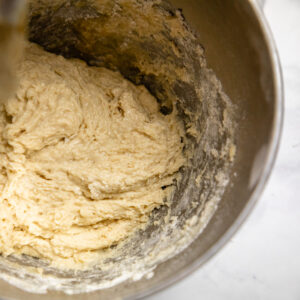
- Turn off the mixer, and scrape down the sides and bottom thoroughly before we do anything else
- Next, with the mixer on low, add the rest of the flour mixture bit-by-bit. (Don't measure or anything, but I'd say in 1/4 cup increments, giving it a bit of time to incorporate before adding more.)
- When the rest of the flour has been poured in, ramp the mixer back up to medium-low and allow this to knead for 2-3 minutes until it pulls away from the sides and comes together on the paddle nicely
- When nearing the 3-minute mark, if the dough still isn't coming together, simply add dashes of flour (1/2 Tablespoon-ish) bit-by-bit until it pulls away from the sides.
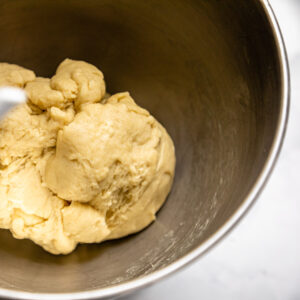
- At this point, the dough shouldn't be too sticky, and it should bounce back a bit when poked
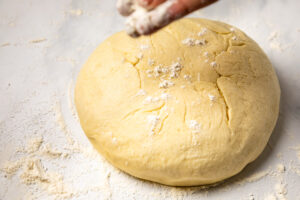
- Finally, dump out the dough onto a lightly floured surface... Knock it around and lightly roll/knead/shape it into a tight ball with your hands
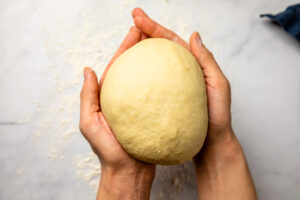

- Place the dough, ugly side down (we still love you), and cover with a damp towel

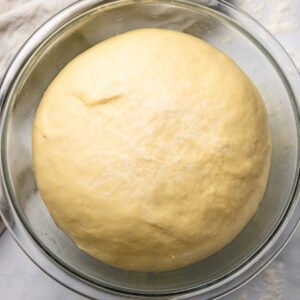
- Allow dough to rise in a warm spot for 1 hour (maybe longer if in a cooler room) until doubled
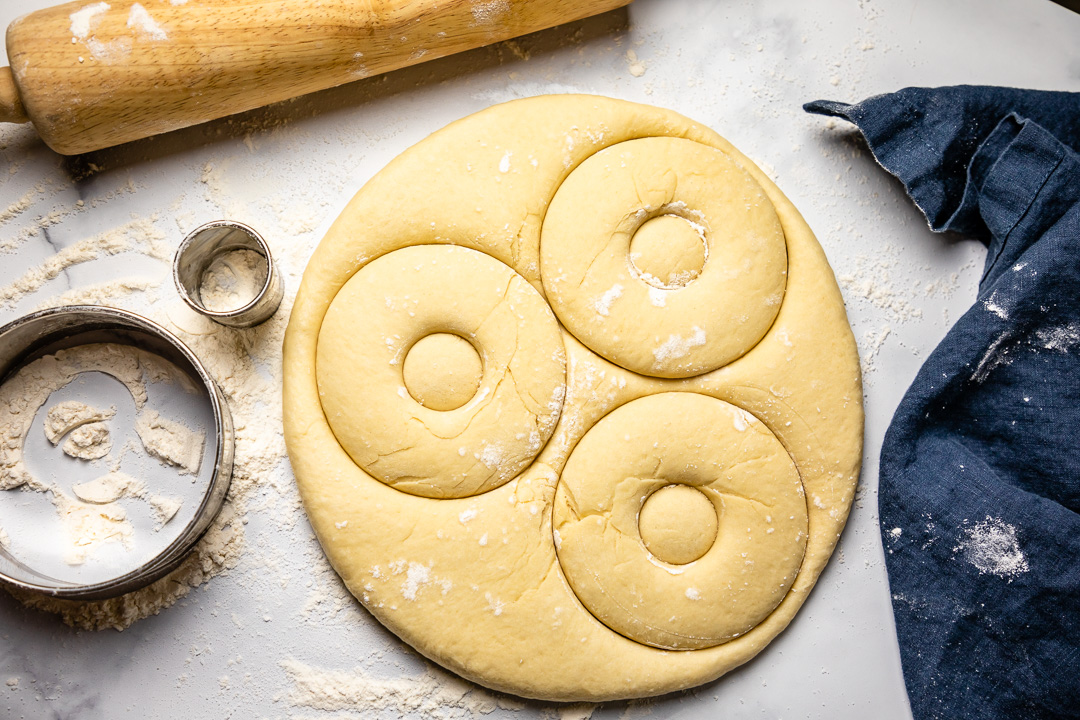
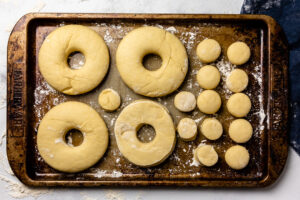
Rolling, Shaping, and Cutting the Doughnuts
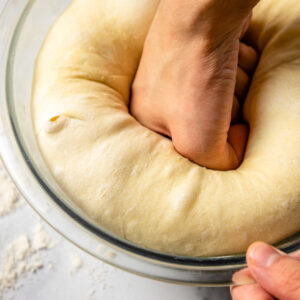
- Once the dough is nice and plump, give her a good de-gassing by punching down right in the middle
- Dump the dough back out onto a lightly floured surface, lightly flour the top, and roll out to 1/2 inch thick
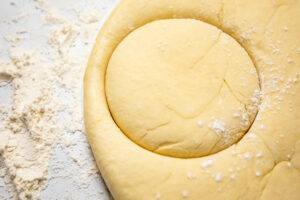
- Next, cut the doughnuts using a press and twist motion (*see our size recommendations in the recipe notes)
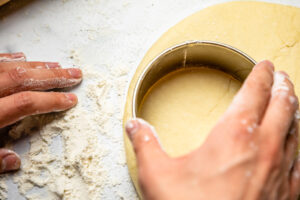
- (Dip your cutter in flour in-between uses to prevent sticking, if necessary)
- Transfer the cut doughnuts to a lightly floured baking tray, leaving a bit of room between them to rise
- Once you've cut as many as you can, feel free to roll the dough back together. Simply let it rest for 5-10 minutes, roll back out, and cut again (**see notes below)
- Cover the cut doughnuts with a damp towel again, and let rise for another 45 minutes
While They're Rising
- The oil does take a while to heat, so I like to start that 20 minutes before the doughnuts are finished with their final rise
- Do this by filling a large, heavy-bottom pot with a neutral-tasting, high-heat oil (we used canola)
- You'll want enough oil that the doughnuts can float freely, but NEVER fill a pot more than halfway with oil... Use a larger pot if necessary
- Heat the oil over medium-high to 350°F
My Frying Routine (The boring information-y stuff you only have to read once)
- I first find a heat setting on my stove-top that maintains roughly 350°F (mine sits at 2.5/5)
- Now that that's set; I use the doughnuts to "micro-manage" this temperature range of 350°-360°F
- Essentially, I watch the temperature and use more or less doughnuts per round to keep the heat stable.
- If the temp is dropping too quickly after adding some, wait... Adversely, if the temp is climbing quickly, simply add more to keep the oil between 350°-360°
- Granted, you can obviously still use the knob to change the heat as necessary, but doing so caused too drastic of temperature swings in my case. I only did that if the temperature was still going outside my ideal frying range
Once the Oil is Heated
- Add the doughnuts to the oil, one at a time, slowly and always splashing away from you for a maximum of 2-3 per round of frying. (Again, keep an eye on the temperature to gauge when/how many to add)
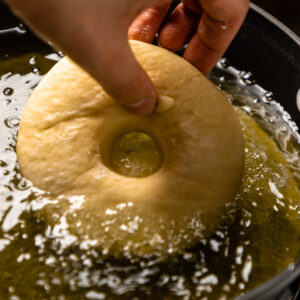
- You can either use your hands, or a small frying basket (also called a skimmer/strainer) to gently release these into the oil
- These babes want to fry for about 2 minutes total, until nice and lightly golden. Use your utensil to gently flip at the minute-ish mark
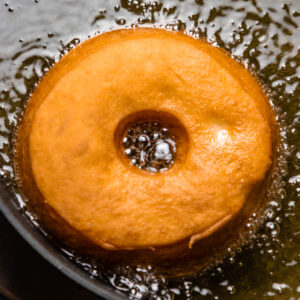
- Remove the doughnuts from oil when golden on both sides. Place them on a trip tray over a baking sheet to cool
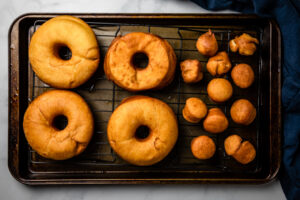
- Let these sit about 30 minutes (don't even think about icing them!)
Prep the Glaze
- When the donuts are almost completely cooled, start the glaze. Don't do this too early, otherwise it will set and get all weird (not worth it)
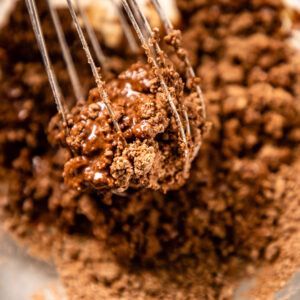
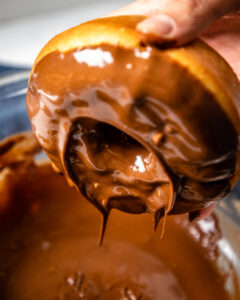
- Mix all icing ingredients in a bowl, save for the water. Give these a quick whisk to break up any large lumps
- Next, slowly add the water little-by-little while gently whisking until the perfect consistency is achieved
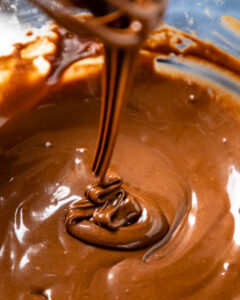
- Note: Don't whisk with too much "vigor". Air = icings worst enemy. You'll end up with bubble craters on your otherwise perfect donuts. Don't do it!
- You're looking for Willy Wonka chocolate-folding-while-falling realness, which tells us it's a thick enough glaze to set, but thin enough to not suck your donuts in like a tar-pit.

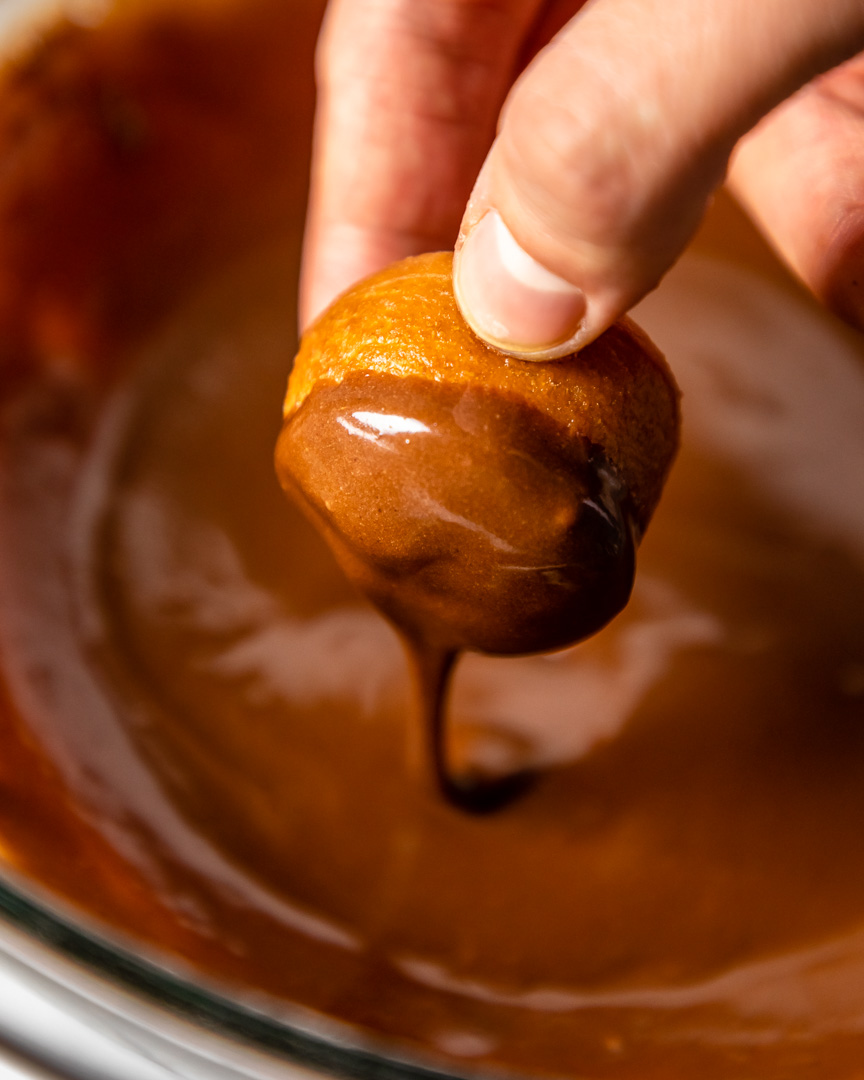
It's That Time: Decorate Those Babes!
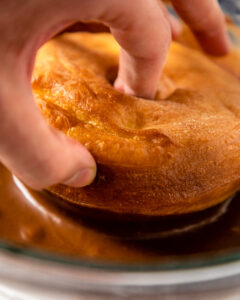
- First of all, just accept that you're gonna get chocolate on your fingertips... That's just part of the fun!
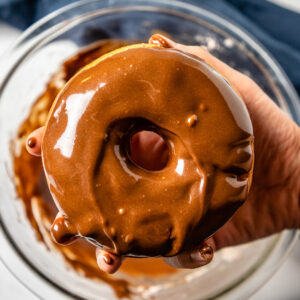
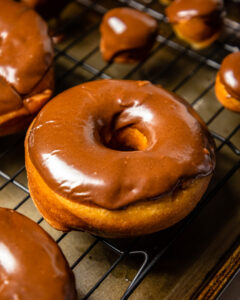
- Grab those cooled doughnuts, dunk straight down, about halfway. Pull straight out, allow the initial excess to drip off for a couple of moments, and then do a magic-flip/twirl of your wrist to flick that tail of chocolate back into line
- (It's hard to explain, but you'll see what I mean when you try! And if it's not perfect: no one is gonna notice or care)
- Let these babes sit and set for another 30-ish minutes if you want a crackle top... Otherwise, what are you waiting for!? Dig in!
Angie Evans
September 27, 2020 at 9:22 amCan any other vegan milk be used successfully as many cannot do soy?
Nick Abell
September 27, 2020 at 9:43 amHi there! Unfortunately, soy milk does tend to work best in baking (at least in my experience) because of the high protein content. That said, I would assume most vegan milk-alternatives would work just fine. If you do try, please let me know how it goes!
Christal Young
May 19, 2021 at 6:19 amHi there! Thanks so much for this recipe! Would it work to make long johns (bars) too?
Nick Abell
May 19, 2021 at 8:30 amYes it does 🤤 In fact, that’s been my favorite way to make them!